
Using 7 Segment Display on Arduino Ray's Blog
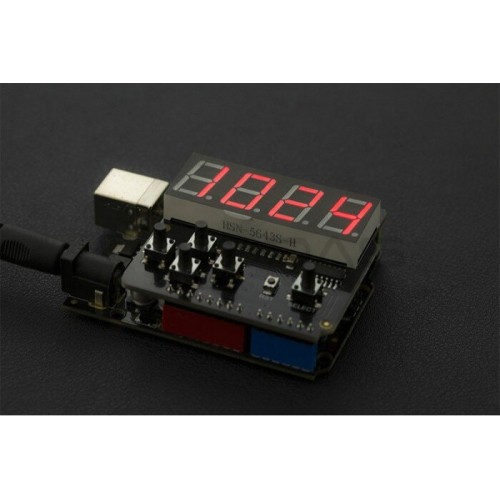
The Seven-Segment Shield. The shield is available here. It has the following onboard devices: Four bright green 7-segment digits. I2C 7-segment driver (NXP SAA1064) 128K I2C EEPROM (24LC128) I2C Digital thermometer (TMP75) 10mm RGB LED (with PWM) The shield uses Arduino pins D3, D5, D6 (for the LED), A4, and A5 (for I2C), so they cannot be used.
Arduino Projects Embedded Lab
7-Segment Shield on Arduino UNO? system April 14, 2011, 8:06am 1 Hi. I got this 7-Seg shield ( 7-Segment Shield ). But i cannot get it to work with my Arduno UNO. Anyone got any idea what could be wrong? I tried the sample code from the page:

7Segment Shield
I've been playing around with the 7-Segment Shield for Arduino from the Maker Shed, and realize that I need a better understanding of how seven segment displays work.. When addressing the display from the sample Arduino sketch, I was pulling pre-formed characters from an array of hex values.This means that when I wanted a number 3, for example, I'd ask for NumberLookup[3], which had been.
Arduino 7Segment Çok Fonksiyonlu Shield Fiyatı
Begin by mounting the 7-segment display on your breadboard, making sure that each side of the display is on a different side of the breadboard. With the decimal point facing downwards, the pins are 1-5 on the bottom side from left to right and 10-6 on the upper side from left to right. Connect one of the COM pins to the Arduino's 5V pin (if.

7 Segment Display Arduino, Seven segment display, Segmentation
Arduino Mega 2560 ch340 driver with USB Cable ৳ 1,490 ৳ 1,200 Add to cart; Sale!. 2.4 INCH TFT LCD SHIELD TOUCH ৳ 870 Add to cart; L298N Motor Driver Module ৳ 170 Add to cart;. >>7 Segment >Oscillator >Oscilloscope >Resistors >Transistors •Development Tools > ESP > Red Bearlab >BeagleBone
RANGKAIAN DRIVER DISPLAY 7SEGMENT MENGGUNAKAN ARDUINO Syarif Projects
Internship (7 days) Gulshan, Dhaka, Bangladesh, 2021 Department Representative Department of EECE, MIST March 2021- May 2022 Energypac Electronics Ltd. Factory Internship (7 days) Gazipur, Bangladesh 2021 General Secretary IEEE MIST Student Branch February 2021- May 2022 Dhaka Electric Supply Company Limited (DESCO) Internship (7 days)
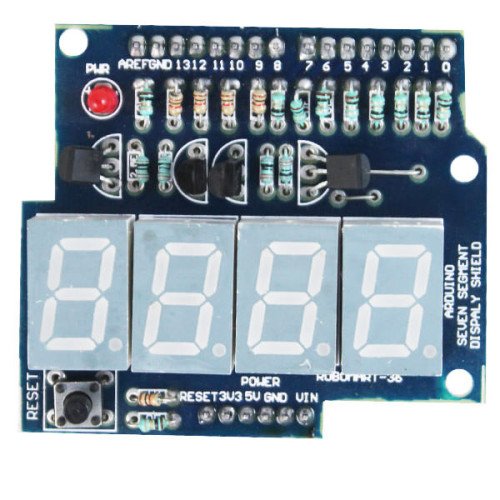
Arduino Seven Segment Display Shield Robomart
Step 3: Connect the CS (Chip Select) pin (green wire) Step 4: Connect the CLK (Clock) pin (blue wire) Step 5: Connect the Power pin. Step 6: Complete connection. Arduino Code Example For The MAX7219 7-segment Module Project. FAQs About The 7-segment Driver MAX7219 And The Arduino UNO Projects. 1.

Arduino 7Segment Shield
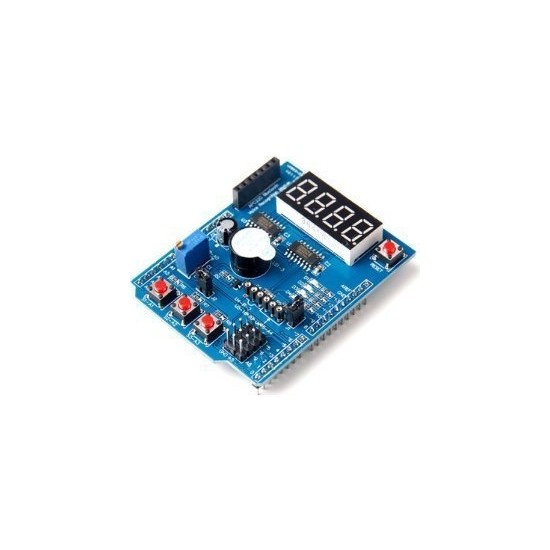
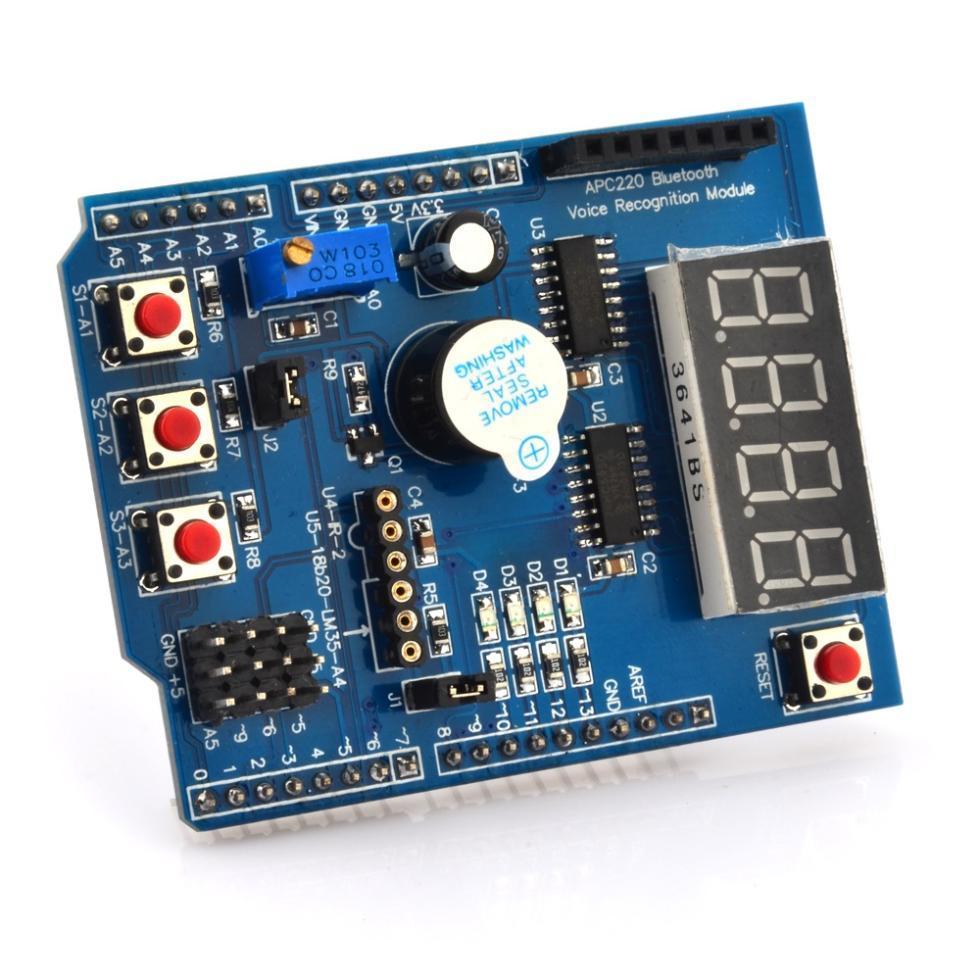
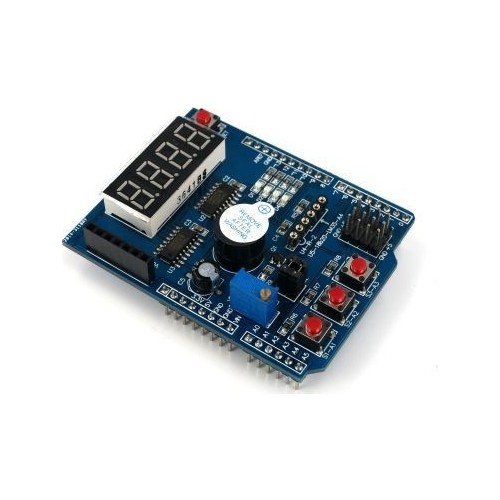
Seven Segment and LCD shield is very useful at many places. Most of the project and products requires display it can be Seven segment or 16x2 lcd and again require switches. So this shield is very much useful to them. Step 1: Shield Specification 1.Four Seven Segment Display 2. 16x2 LCD - https://www.banggood.in/custlink/GvmEej9ook 3. 6 Switches
7 segment LED keypad shield for Arduino
Story. In this project, I have made a 4-Bit 7 segment display Arduino UNO shield using MAX 7219 IC. It is also compatible with Arduino Mega. I have made this design using Autodesk Eagle PCB Design software used worldwide by professionals. First I make the schematic in the schematic editor, here I have used the bus tool to make the connection so.

fizic pas Siestă arduino code for 4 digit 7 seven segment led display imn national dupa amiaza
The seven-segment modules used on Arduino multi function shield is Common Anode (CA) modules. Truth table for Seven Segment display: To display a particular character or digit on each segment we have to send appropriate data to segments. Lets discuss about displaying digit 2. To display digit 2, LEDs a,b,d,e,g should glow.

7Segment Shield
This display is called Seven segment display as it is made up of seven parts. It also has seven LEDs for the seven parts and one LED bulb for the decimal point. In terms of LED color, we can see these in red, blue, and orange in the market. Also, the LEDs in these seven parts are labeled a to g. Also known as the decimal point DP.

7Segment Shield
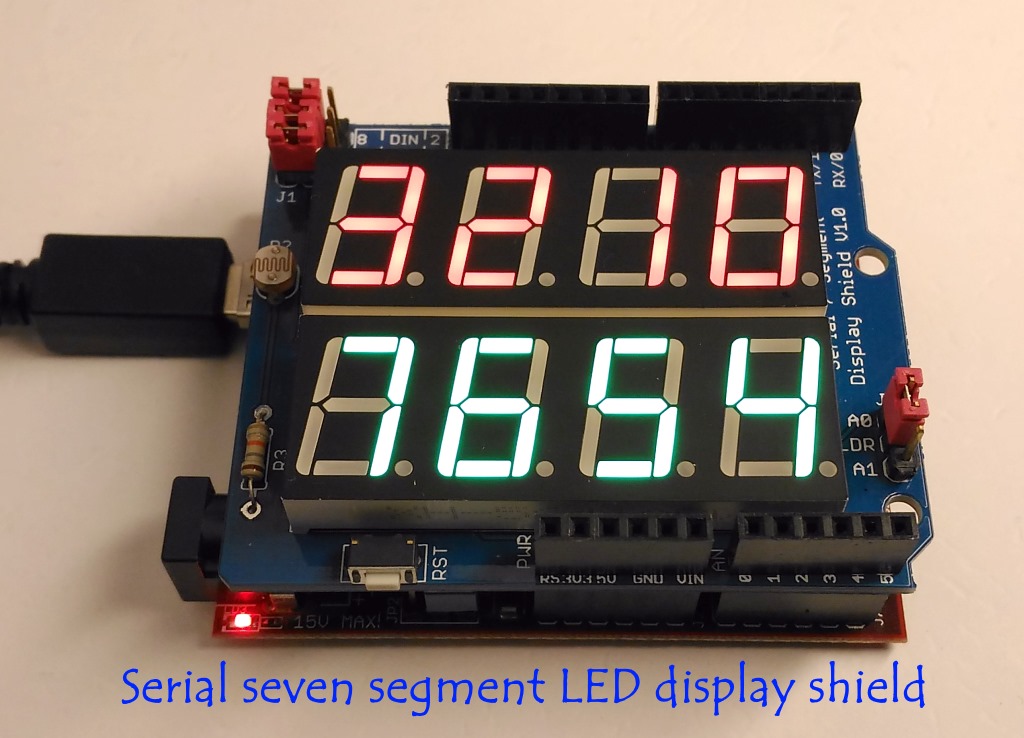
This project describes a serial seven segment LED display shield for Arduino Uno or compatible boards. The shield consists of eight 0.56″ seven segment displays that are driven by one MAX7219 chip. The shield also features a light dependent resistor (LDR) to implement adaptive brightness control to the LED displays.
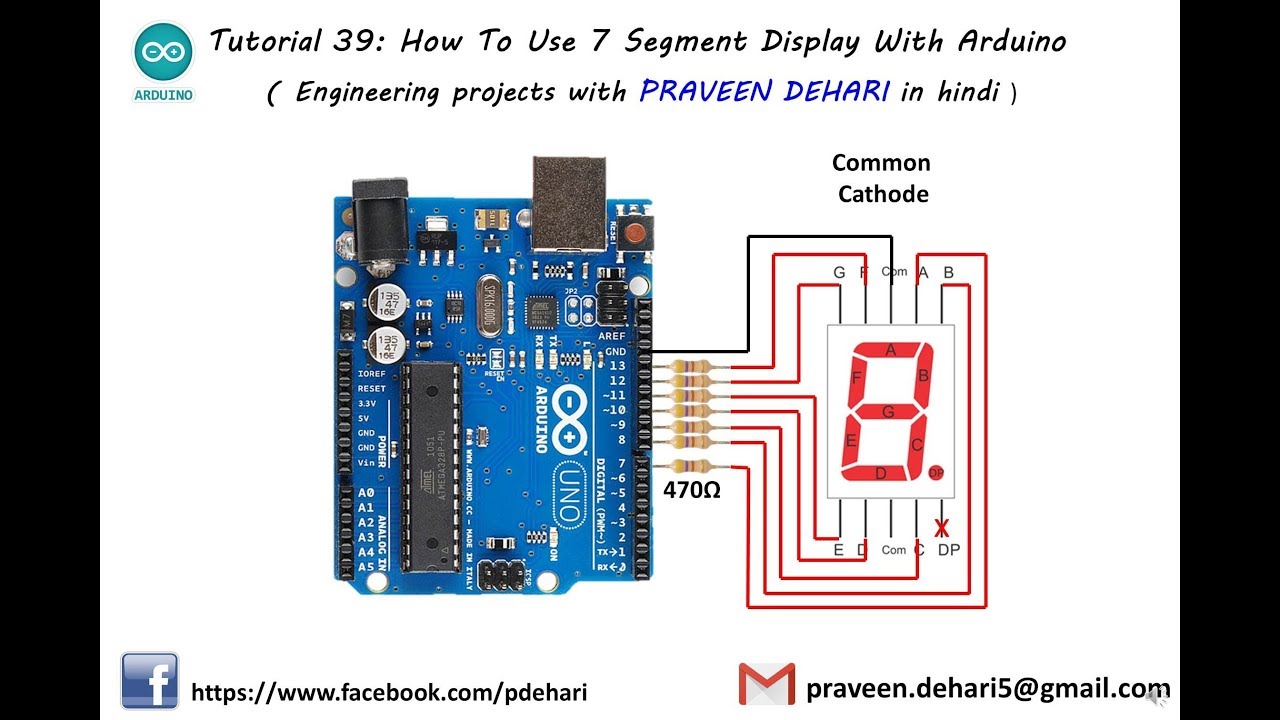
How To Use 7 Segment Display With Arduino Tutorial 39 YouTube
The Serial 7-Segment Display is an easy-to-use 4-digit display that is controlled using a serial interface. Instead of using up a dozen-or-so of your microcontroller's pins to control the LEDs, all you need is one. Using either a serial, I 2 C, or SPI interface, you can control all digits, decimal points, the colon, and the apostrophe.
Arduino 7Segment Shield Satın Al 132,04 TL
Arduino - 7-segment Clock In this tutorial, we are going to learn how to make 7-segment clock using Arduino. In detail, we will learn two cases: Arduino reads time ( minute and second) from DS3231 RTC module and display it on the TM1637 4-digit 7-segment module

7Segment Shield плата для Arduino (с дисплеем)
1 Answer Sorted by: 1 So if you click your 2nd link, it includes sample code for various sections of the multi-function shield. One of them is titled "segment display". If you look at that code, line 7 defines the bit patterns for each of the digits from 0 to 9: const byte SEGMENT_MAP [] = {0xC0,0xF9,0xA4,0xB0,0x99,0x92,0x82,0xF8,0X80,0X90};
Arduino 7Segment Çok Fonksiyonlu Shield Fiyatı
The project is a Nano Shield for controlling two MAX7219 that are connected to a 5 digit common cathode display each. It also connects two encoders to the Arduino. The displays also have little board to be able to connect them via a IDC connector. I just wanted some help with a fresh pair of eyes to see if there is anything obviously wrong in.